Sharpening your knife with a Japanese whetstone: Expert shares 3 how-to steps
07/11/2018 / By Frances Bloomfield
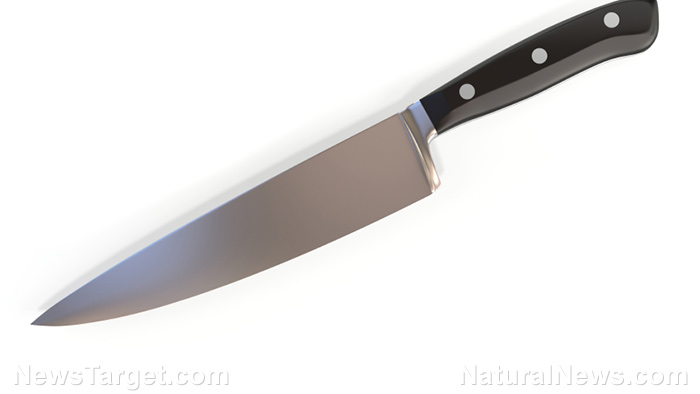
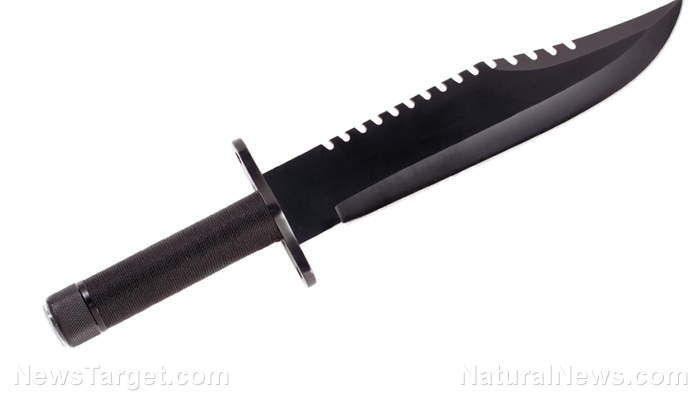
Japanese whestones are tried-and-tested tools for keeping your knives sharp. These humble stone slabs are a must-have tool for any knife enthusiast. If you’re a novice at knives or have simply never used a whetstone before, then you’re in luck. Below is a guide on how to use a whetstone to keep your favorite knives — whether they be hunting knives or kitchen knives — from getting dull and chipped. (h/t to GearJunkie.com.)
Preparation
Before sharpening your knife, make it a point to soak your whetstone for at least 24 hours. This is a must, according to master sushi chef Hiroyuki Terada, who stated that the moisture will “keep the knife from scratching against a harsh surface and damaging the blade.” If you’re pressed for time, then you can simply submerge the whetstone in water for 10 to 15 minutes, or until it stops bubbling.
As for your workstation, you’ll want to place your whetstone in an area with plenty of space and good lighting. You’ll need a stone holder as well, so that your whetstone remains steady while you use it. A good option is your kitchen sink: secure a board or scrap of wood over your sink and position your stone on top of it. This is so that you’ll have a constant source of water to moisten your stone, a must if you were only able to soak it for a few minutes. But if you’re not comfortable with the kitchen sink, then any well-lit place with a sturdy table will do. Just be sure to have water nearby.
Sharpening
- Setting the angle: Holding the knife firmly in your dominant hand, place it flat against the coarse grit of the whetstone. Make sure that the blade is facing you. Raise the spine of the knife to find your sharpening angle. The ideal angle for most knives is about 15 to 18 degrees, which is the thickness of your pinky finger. It’s a bit tricky at first, but you’ll get the hang of it with practice. (Related: 7 Straight Razor Shaving Tips.)
- Establishing the burr: The burr is a thin strip of metal that forms at the apex of the blade after material has been ground from one side. Seeing and feeling the burr will tell you that you were able to successfully sharpen your knife. To draw the burr, start by gently pressing the knife into the whetstone with your free hand. Beginning with the top and work back towards the heel, move the blade up and down the whetstone in a smooth, controlled motion. Ensure that the angle and pressure remain consistent all throughout. The burr will become visible after several movements, depending on how damaged the knife is and how coarse the whetstone is. You can feel for the burr by moving your thumb across the blade in an up-and-down motion. Do not use lateral movements to avoid cutting yourself. Eventually, your finger or fingernail will feel the burr. Change sides afterwards, taking care to match the previous angle and pressure.
- Finishing up: With both sides of the blade sharpened, your next goal is to remove the burr. This is done by repeating the previous motions at the same angle, but with reduced pressure. Keep in mind that you’re cleaning the blade and not honing it. Once that’s done, rinse the knife in hot water or under running water to get rid of any remaining residue. Dry it carefully afterwards. Don’t forget to rinse and dry your whetstone as well. Test the sharpness on a piece of paper or a tomato.
There you have it. Don’t beat yourself up if you don’t get it right the first time around. Mastering a whetstone requires a lot of practice and a lot of patience. But it’ll all be worth it in the end. After all, there’s nothing quite as satisfying as transforming a dull knife into a sharp one.
Visit Gear.news to learn other important home skills.
Sources include:
Tagged Under: DIY, do it yourself, how to, how to sharpen knives, knife sharpening, Knives, off grid, prepping, sharpening knives, survival skills, whetstone


