Everything you need to make your own survival bow and arrow
08/01/2019 / By Zoey Sky
The survival bow is a handy SHTF weapon. If you know how to build a survival bow from scratch, you can make a silent and deadly weapon for hunting and self-defense whenever you need to. (h/t to PreppersWill.com)
In a long-term survival scenario, you will need to hunt prey so you can keep your energy up.
The parts of a survival bow
A survival bow has four parts.
- Back – The back is the strong point of the bow. This refers to the outside part of the bow curve. Leave this area untouched if you can.
- Belly – The belly is the inside bend of the curve, opposite of the back.
- Handhold – The handhold, as the name implies, is where your hand will go. Mark the handhold by marking out three inches from the center of the sapling in both directions.
- Limbs – The limbs refer to the outer edge of the bow running from each handhold to the end of your bow.
1. Find the right kind of wood.
You need the right type of wood for your survival bow. You can use hardwood, but the trees you can find will depend on where you live.
Look for woods such as:
- Ash
- Beech
- Black locust
- Hickory
- Maple
- Oak
- Orange
If you’re not familiar with the different types of hardwood, you can identify suitable bow wood by getting a sturdy branch that can also quickly snap back to its original shape. Look for a sapling that can bend into a “C” without breaking.
2. Strip the wood.
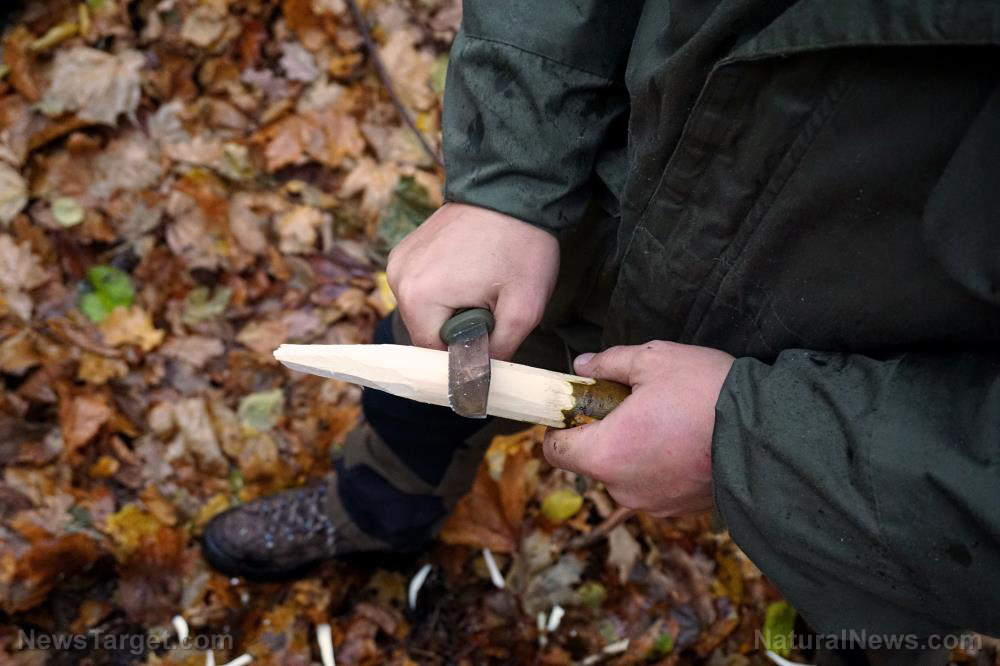
Use your knife to cut off extra branches and roots. Take your time so the sapling doesn’t crack.
When you’re done, figure out where the different parts of the survival bow will be. (Related: Skills assessment: What you really need to know in case SHTF.)
3. Shape the bow.
Use your knife to cut off different parts of the sapling, but go slow so you don’t crack the wood.
Balance the sapling on one end so you can see where the bow bends and where it doesn’t. Remove wood from the belly where there is no bend, but keep wood where the wood bends the most. Shape the bow so it can shoot with some degree of accuracy.
Don’t cut the back. This part of the bow needs to be strong to bear the tension as the rest of your survival bow bends.
When you’re done with one side, do the same for the remaining side. Stop occasionally to check if the bow bends evenly. A bow should bend like a parabola, with an even curve, and without any distortion.
If the curve is distorted, your bow will fire incorrectly. Its shape needs to be similar to a satellite dish. Once the bow bends this way, you’re done shaping the sapling.
Take note that your handhold must be thicker, like around 5.5 inches in diameter. Don’t remove wood from this section so it remains stiff.
Check the bow frequently to see if the areas that don’t bend are removed and that the bent areas are intact. When you’re done, the bow should have even curves.
4. Carve the string notches.
When carving the notches, make them deep enough to keep the string in place. The notches should also be shallow enough not to break your bow.
Carve the notches at the tip of the bow on the side, not on the back.
5. String the bow.
As you’re stringing the bow, the sapling will bend. When stringing the bow, the distance from the end of the string to the handhold should only be five to six inches. Mark this distance and measure it on the string.
Before you shoot the bow, proceed to the next step.
6. Tiller the bow.
To tiller the bow, you need to place the survival bow so the string is level and horizontal. Next, pull down on the string. If your bow doesn’t bend evenly, correct it by slowly carving out the wood that prevents the bow from bending evenly.
For this next step, you need to determine the draw weight of your bow, or the amount of force needed to pull your bow.
The farther your survival bow can be pulled back, the heavier its draw. The draw weight for a deer must be at least 40 to 60 pounds.
If you’re making your bow in your garage, check the draw using a bathroom scale. Find a piece of wood, then balance your bow on it. Slowly pull the string back. The scale will display your bow’s draw weight.
For a heavier draw, you need a flexible survival bow. On the other hand, smaller game requires a lighter draw. After you’re done with the tiller, refrain from dry firing your bow.
Making arrows
Find straight branches or twigs, then strip the bark off of the branch. After the bark is stripped, check how straight the arrow is.
If some arrows are bent, straighten them by holding the arrow near a fire for a bit, then bend the arrow the opposite way.
Creating arrowheads
You can make arrowheads using rocks or other materials, as long as they measure 1.5 inches long and an eighth of an inch thick.
The shank, or the part inserted into the arrow shaft, needs to be at least 5/8 inches long. The shank is the same width as your arrow.
To shape your arrows, use something sturdy to grind them into a point. The arrowheads need to be sharp enough to pierce the skin of your prey from one shot.
When the arrowheads are sharp enough and inserted into your arrows, start fletching.
Fletching arrows
Arrows must be fletched so they can fly straight. Look for bird feathers, then remove the feather material from the quill in three separate sections.
For this last part, you need to put the feathers on the arrow. If you have glue, attach the feather to the back of the arrow. The sections must be equidistant from each other. If you are outdoors, find sap from a tree and use it as resin.
After you make your bow and arrows, test them out before you hunt with them. Store your bow well and keep it dry and properly oiled.
With some hard work and trial and error, you can make your own survival bow and arrows.
Sources include:
Tagged Under: archery, bow and arrow, Collapse, disaster, DIY, emergencies, emergency preparedness, how-to, hunting, hunting weapons, off grid, preparedness, prepper, prepping, prepping tips, security, self sufficiency, self-defense, self-reliance, self-sustainability, SHTF, survival, survival skills, Survival Tips, survival tools, survivalist, sustainable living
RECENT NEWS & ARTICLES
COPYRIGHT © 2017 GEAR.NEWS
All content posted on this site is protected under Free Speech. Gear.news is not responsible for content written by contributing authors. The information on this site is provided for educational and entertainment purposes only. It is not intended as a substitute for professional advice of any kind. Gear.news assumes no responsibility for the use or misuse of this material. All trademarks, registered trademarks and service marks mentioned on this site are the property of their respective owners.

