Basic prepping skills: Do you know how to use a magnesium fire starter?
10/03/2019 / By Edsel Cook
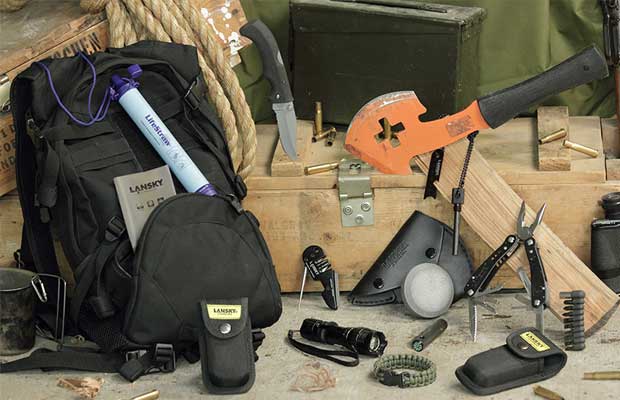
A magnesium fire starter is one of the must-haves of any prepper’s survival stockpile and bug-out bag. While using it is as easy as shaving and sparking, there are some considerations regarding its efficient, responsible, and safe usage. (h/t to ThePrepperJournal.com)
The first step is to look for a suitable site to set up the fire. Evaluate the area’s amount of precipitation (rain, snow, and the like) and the wind’s direction and force.
Also, keep in mind how easy it is to move from there to the cooking or camping site. Finally, check how near the fire site is to anything significant or flammable in case the fire gets out of control.
Whenever possible, pick an existing fire site that other people regularly use. They probably selected that spot for the right reasons.
The next step is to set up the base of the fire. It must be as dry as possible.
The base will need long-lasting fuel. Sticks and chunks of wood burn for quite a while.
It also needs tinder — small twigs, dry grass, and sapwood can quickly ignite. These will help build up the fire to make it strong enough. (Related: Do you have these essential items in your survival fire starter kit?)
How to use a magnesium fire starter
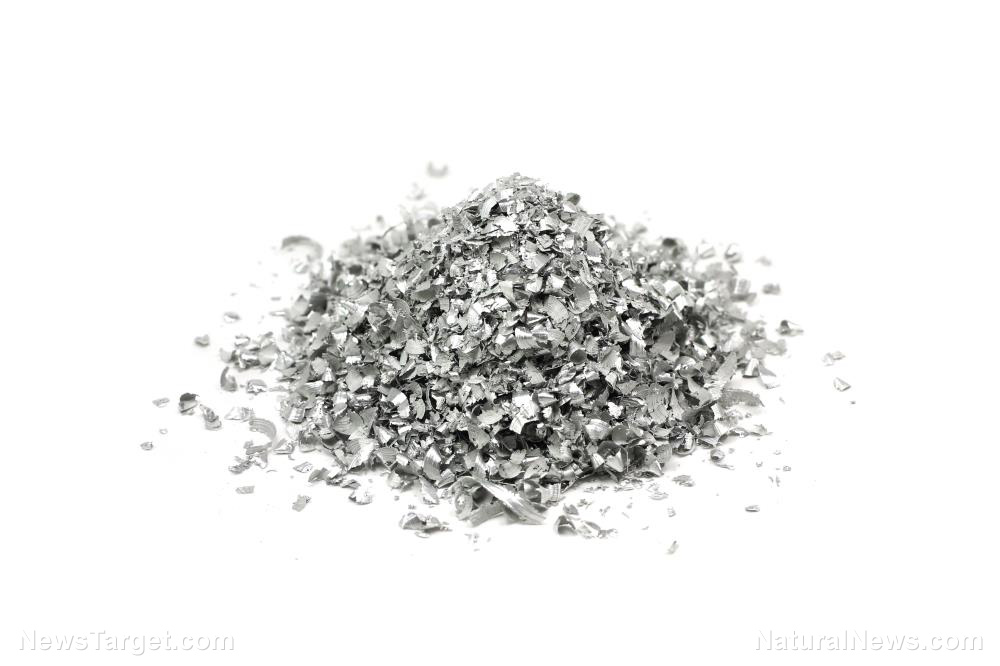
Now it’s time to shave the magnesium fire starter. First, make sure to take cover against the wind. Magnesium is light, so even a breeze will blow away the valuable powder and shavings.
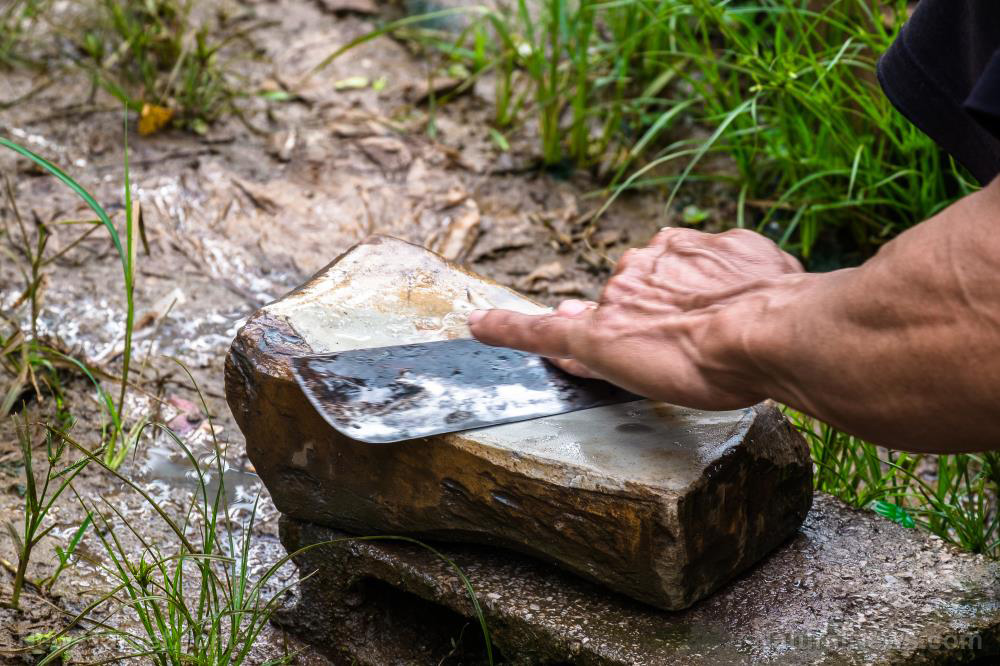
Make sure to use a knife with a locking or fixed blade. These tools are easier to control.
Carefully grind or shave the magnesium stick. There is no need to rush the process. Just make sure to produce enough powder or shavings for starting the fire.
Add the magnesium bits to the fire. It is now ready to get lit.
Most magnesium fire starters feature one side as the part that gets shaved off or ground down. The other end is the “ferro rod” and produces sparks.
Grate the knife against the ferro rod. The metal-on-metal action causes hot sparks to fly out.
Once enough sparks touch the magnesium, the easily flammable metal will ignite. The initial fire is small and must be built up with tinder.
Preppers with sufficient experience may attempt to direct the sparks more accurately. Instead of rasping the blade against the fire starter, move the ferro rod while holding the knife steady.
Get the most out of your magnesium fire starter with these tips
There are survival knife models designed with magnesium fire starters in mind. The back of their blades features surfaces for shaving metal or striking ferro rods to produce sparks. These knives will have squared-off and sharp backs to their blades.
When using the cutting side of the knife to make sparks, don’t use the front section to hit the ferro rod. This part of the blade does most of the slicing. Instead, use the rear part of the cutting side. This segment doesn’t see much use.
Sometimes, a prepper may only have a flimsier folding blade at hand. Close the knife first and use the exposed part of the metal blade to strike the fire starter.
Other metallic objects may also serve as makeshift fire strikers. Experienced preppers and survivalists know how to make sparks fly with just a piece of glass.
Try to push hard during each rasping motion. Doing so makes it more likely to produce sparks.
Practice makes perfect. Don’t be afraid to try out new things (although not during a survival scenario). And always remember to take care while using sharp objects.
Sources include:
Tagged Under: bug out, disaster, ferro rods, fire starters, how-to, magnesium, off grid, outdoors, preparedness, prepper, prepping, prepping skills, SHTF, survival skills, survival tools, survivalist
RECENT NEWS & ARTICLES
COPYRIGHT © 2017 GEAR.NEWS
All content posted on this site is protected under Free Speech. Gear.news is not responsible for content written by contributing authors. The information on this site is provided for educational and entertainment purposes only. It is not intended as a substitute for professional advice of any kind. Gear.news assumes no responsibility for the use or misuse of this material. All trademarks, registered trademarks and service marks mentioned on this site are the property of their respective owners.


